To begin we are going to provide you with an audio overview of groups and groupings. Please take a listen as they can seem a bit confusing to start. The audio overview will help you to determine how much of the following you need to review!
Frequently Asked Questions
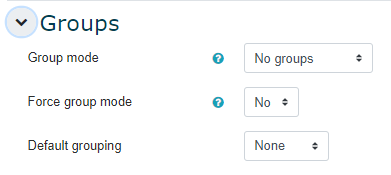
Go into your course main page and select Settings. Scroll down and then click on the Groups heading and choose the settings you wish.
- To create a group, go into your course main page and select Participants.
- From the Enrolled users drop-down list select Groups.
- Select the Create Group or Auto-create groups button.
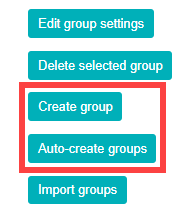
- If you clicked the Create group button, give the group a name and click Save changes. (The Group name field is the only required field)
- If you clicked Auto-create groups button some settings to take note of are:
- Naming scheme: A naming scheme can be created automatically. The # is replaced by sequential numbers, and @ by letters. If you use the # symbol then Group # will create a group with a naming scheme Group 1, Group 2, Group 3… If you use the @ symbol you would have Group A, Group B, Group C…
- Auto create based on: You can specify if you would like to create x number of Groups or each group can contain x number of students. If you are randomly assigning students to groups you would want to use Members per group
- Group/member count: If you chose Number of groups from the Auto create based on drop-down list then enter the number of groups you want to create. If you chose Members per group enter the number of participants you want in each group
- Select members from group: If you are teaching more then one section of the same course and have those students divided into larger groups then select a “section” to ensure students who are in the same section are placed together in the smaller groups.
- Allocate members: Choose how you want to allocate participants to the groups, select No allocation if you are wanting to populate the groups manually or if you are allowing students to self select by using the Group choice activity.
- Prevent last small group: A good example here is you are wanting to randomly pair students but you have an odd number of students, say 21, you will have 9 groups of 2 and 1 group of 3 rather than 10 groups of 2 and 1 group of 1!
- Click Submit
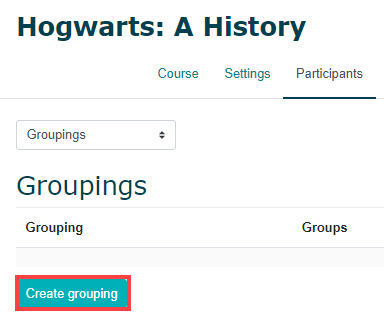
- To create a grouping, go into your course main page and click Participants.
- From the Enrolled users drop-down list select Groupings.
- Then, select the Create a grouping button. Fill in the Grouping name field and click Save changes.
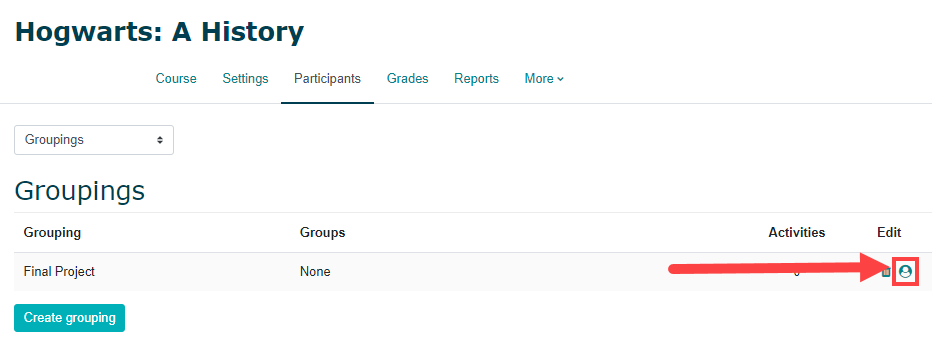
- Go into your course main page and click Participants.
- From the Enrolled users drop down list, select Groupings.
- Click the Show groups in grouping icon in the Edit column (If necessary, create a new grouping).
- Click the group you want to add in the Potential members list then click Add (use Ctrl + click on a PC or Cmd + click on a Mac to highlight more then one group at a time).
- Click Back to groupings